


blogging tips, Make Money Online
How To Start A Website & Make Money From It
13/02/2020

Are you looking for the best way to start a profitable website? You’ve come to the right place, my friend!
Why Should You Start A Website Today
I usually dive into what I want to try straight away. I believe that the timing is never perfect and if I want to achieve anything in my life- I must simply go for it.
I’m not saying that impulsive decisions will always get you to the right place, but sometimes all you need to do is JUST START.
For this reason, I wanted to make things a bit easier for you & encourage you to at least give it a go. Trust me, you will learn everything you need to know along the way.
Building a career online can open so many doors for you! I feel grateful every single day that I get to do this for a living. Here are just some of my favorite things I was able to do because of my personal website and I really hope it will give you some inspiration to go for this:
• In the first year as an online business owner, I was able to support myself fully while completing my university degree. Even when I was crazy working on my dissertation, my online business brought me enough income to pay my bills and even to celebrate my graduation with some fancy bubbles!
• I then got to travel around New Zealand for almost two months while working from the back of a campervan & making a profit along the way!
• I got to spend some memorable time in New York City pretending to be Carrie Bradshaw & writing my top online content in Manhattan’s coffee shops.
• I get to travel the world with my fiance while still making money every step of the way.
• I bought a property funded 100% from my online businesses.
• I get to live anywhere I want because of my online business.
• I get to spend time with my baby boy whenever I want.
• I get to DREAM. Seriously, this is the best part- the sky has no limits when you run an online business!
I think that gives you an idea!
This was definitely the best decision I have ever made!
Ok, I know, I know…starting a website might look like a hustle to you at this point, but in reality- it only takes 5 minutes… Crazy right?
* this post includes affiliate links.
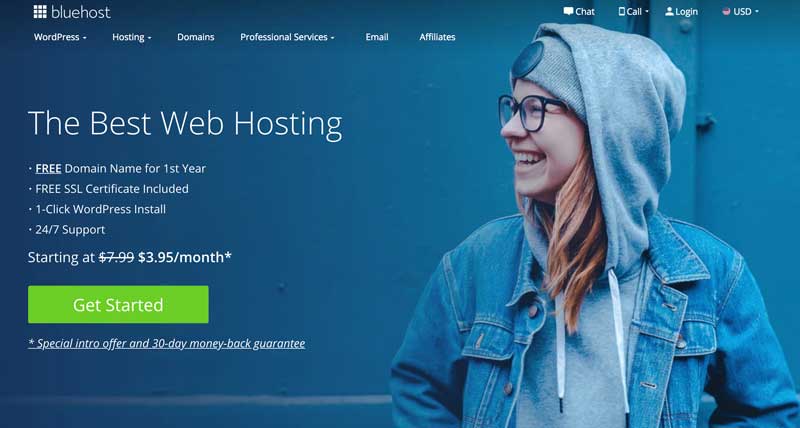
Step 1: Register on Bluehost.
If you are interested in creating a thriving website that actually brings you income, then paying for trust-worthy hosting, such as through Bluehost, is a MUST. Don’t worry, it’s very cheap as well to go through Bluehost AND you get a free domain too. This way, you will be able to run your own shop or implement advertisements or affiliate links into your website. Making money on free website builders or any other free blogging platform is very difficult, and in most cases never happens. Most customers, advertisers, and companies are looking for trust-worthy partners & your self-hosted WordPress website can help you give that outstanding experience to your potential clients.
My own income I make online didn’t take off until right at the exact moment I switched to WordPress. That’s a lot of proof right there that being self-hosted on WordPress is the way to go!
There are many reasons for why you may want to choose Bluehost for your WordPress website, here are just a few:
- It’s easy to use. Trust me, ANYONE can create a website easily with my tutorial below.
- Bluehost web hosting offers free 24/7 technical support.
- Bluehost is extremely affordable and they offer cheap web hosting. You can have a blog of your own and the only real expense you need to pay is the cheap blog hosting which starts at just $3.95 per month.
- You get a FREE blog domain for the first year.
- WordPress through Bluehost is completely FREE.
- Bluehost offers a guarantee in case you determine that it is not for you. Or, if you sign up for Bluehost, but you are confused for any reason (such as how to set it up, picking a plan, pricing, etc.), you can always send me an email or tweet me and I will help you out.
- You will be self-hosted. If you want to monetize your website, you’re more than able to do so.
- You will create a professional, easy to use the website for the price of a cup of coffee.
First, you will need to head on over to Bluehost to do any of this. There are many web hosting companies out there, but Bluehost is honestly one of the best. There is a reason why the majority of website owners choose Bluehost for their web hosting needs.
If you plan on starting a website and you are interested in learning how to start a website on WordPress, continue below. Remember, if you sign up for Bluehost, but you are confused for any reason (such as how to set it up, picking a plan, pricing, etc.), you can always, always send me an email and I will help you out. That’s what I’m here for so don’t be afraid to send me an email
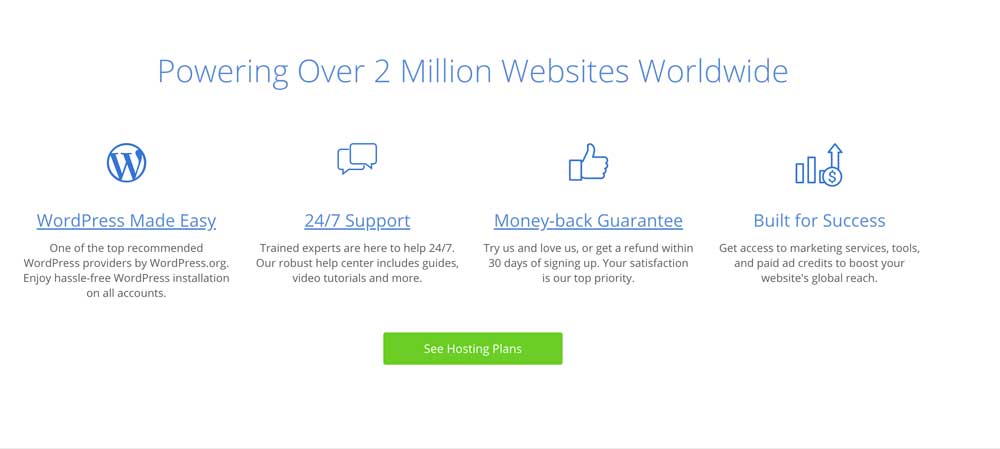
Click on the ‘See Hosting Plans‘ button to be taken to plan the comparison page.

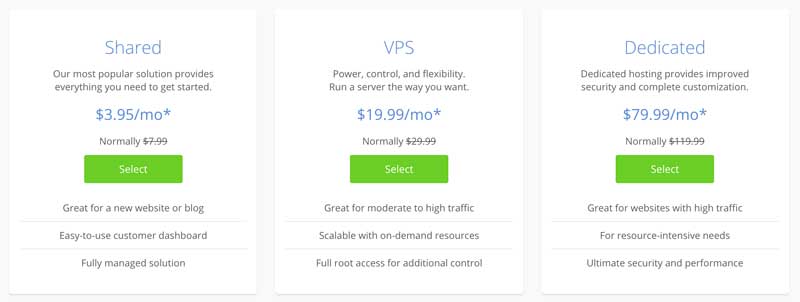
On the next page, select SHARED plans option to choose from available plans.
To receive the cheapest price to start a website, choosing the “Basic” plan is really all you need for now. It’s only $3.95 per month (due upfront in full) if you sign up for 36 months, which is a great price. You might find cheaper alternatives elsewhere, but you will end up paying extra for your domain name, security, SSL certifications, etc. Bluehost really has anything you need for now.
Step 2: Choose a domain name.
After selecting your plan, you will get an option to choose a domain name you’d like to use:

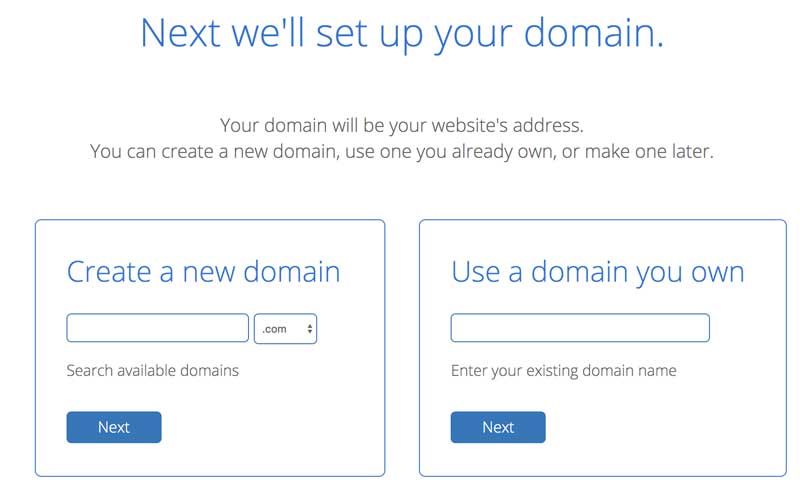
Type your choice in and click on PROCEED!
Step 3: Complete The Form.
Now, you will be taken to a form to fill out your log in deets and your personal information. Fill all of the required fields and move on to your purchase information. Here, you will be able to choose monthly payments if you’re not in a place to pay upfront. However, I highly recommend signing up for at least 36 months period straight away. You will actually save quite a lot of money this way and won’t need to worry about making monthly payments as you grow!
Next, choose if you want to get any additional services, but don’t worry if you don’t feel like you need them at the moment. You can always get back for all of these add-ons!
Proceed to your payment information and make sure to finish off your order, choose to SUBMIT all of the information and continue to the next step to fill out your payment deets & complete the order.
Step 4: Launch WordPress
Now, all that’s left to do is log in to your newly created account & start working on that website.
This part isn’t hard at all. Bluehost makes it very easy to create a WordPress website and it is FREE.
- After you finish your registration, Bluehost guides you through every step you need to do in order to start a WordPress website.
- First, Bluehost will ask you to pick a theme. You can just skip this step for now.
- Click on “Start Building”
WOOHOO! You now have a WordPress website.
Here it is, your WordPress blog is now live and ready for you to start using straight away! That was quick, huh? I told you!
Now, go ahead and choose one of our WordPress themes + fill out this form for free design installation services!
Now let’s move on the fun part →
Step 5: Decide On Your Niche
I know this might sound obvious, but you need to come up with a niche for your website. Don’t think just general lifestyle/beauty/fashion/etc. Take your notebook & start planning. List 5 topics you could create content about. Now cross out 3 of them. The more narrow your niche is- the more chances to have to succeed. I used to create content about EVERYTHING. Seriously. Not only it was exhausting, but I couldn’t see my business grow smoothly. As soon as I decided to narrow my niche, things started to pick up, so don’t make the same mistake!
Read more: How To Find The Right Niche For Your Blog.
Step 6: Brand Your Website
So you have your website live & active now, but it’s not looking real pretty just yet, huh? Don’t miss this step as this is very important.
In this visual era, you must take care of your website’s design if you want to succeed online.
You have nothing to worry about! You don’t need to be tech-savvy or have a great understanding of web design to make this happen.
Get yourself a Premade WordPress Theme & your professional looking website will be ready in seconds.
Installing your website theme is super easy & you always get step-by-step instructions in the theme package (or you can use free installation services and have a professional set it up for you).
If you’re very determined, you can even prepare matching social media covers + post templates by using one of these Blog Branding Packages. You see, we have you covered, friend!
Step 7: Get Social
Being active on social media is the best way to bring the most engaged audience to your website. I personally focus on Instagram, Twitter, Pinterest & Facebook. However, you can definitely get awesome results from other platforms if you analyze & use them properly. It’s really up to you to decide but make sure to register your accounts as soon as possible & secure those unique usernames. At first, I would suggest focussing on only 1 or 2 platforms tho! You can add more as you go along.
Read more: Growing Your Blog’s Audience Through Social Media.
Step 8: Create Your About Page
The about page is the most visited static page on anyone’s website. That’s no surprise. My new visitors usually go straight to my ‘ about ‘ page as they want to know if my website is worth their time. Be unique & informative here. Introduce your niche & your blog idea, share a personal story or simply let your readers know why have you decided to start your blog after all. Make sure to also link some of your top posts in here!
Step 9: Take Some Pictures Of Yourself
A website is your personal space & you have to show your pretty face to your audience. Don’t be shy! Make sure to include a portrait of yourself on your about page or even add a small blurb with a headshot on the sidebar. You don’t need a fancy camera for this. Just make sure to get a good, natural light & you can even use your smartphone for taking a perfect headshot. Don’t forget to show that beautiful smile of yours!
Read more: 10 Tips For Better Blog Photography.
Step 10: Categorize Your Posts
Categorizing your future posts can do wonders for your users’ engagement. Even if you don’t have a lot of content yet, setting up your categories will help you stay more focused on your niche. Not sure how to use those? Read more here.
Step 11: Start Writing
A great website needs a great blog. I love using my planner & scheduling blog posts ideas in advance. Whenever a new article topic pops into my mind- I will write it down for the next available date. This helps me to stay focused on my content & avoid blogging break-down.
Now in the early days of blogging, I admit, coming up with new topics wasn’t so simple! For this reason, I decided to help you out & came up with a bunch of ideas that you can use in the first months of launching your blog! Check out 30 Lifestyle Blog Posts Ideas or 30 Blog Post Ideas For Fashion Bloggers.
Step 12: Monetize
You don’t need to wait until you grow a huge audience in order to start a profitable website. In fact, you can start doing it straight away! I think I earned my first paycheck in the first few months of starting my website and was already successfully supporting myself after six months or so. Let me share some posts that will help you start monetizing your website instantly:
- How Exactly I Make Money Blogging.
- How To Turn Your Blog Into A Business.
- 7 crucial steps to take in becoming a full-time blogger.
- Best Affiliate Programs For Bloggers.
Are you ready?! Feel free to get in touch if you want to get more personal tips on monetizing YOUR website!
Welcome to the online business club, my friend!
Let me know if you have started your website using this tutorial & make sure to leave your link in the comments. I can’t wait to visit your websites & show some love!!
« My Favourite Tools for Blogging + Running an Online Business
How To Edit Photos Like A Blogger Using Lightroom Presets »