


business, Make Money Online
Interested in starting an online business? Here’s what you need to do next.
12/03/2020

Have you always wanted to launch your own online business? This tutorial is going to teach you how you can launch your first e-Commerce shop, start accepting payments & make your first sales! Don’t be scared, you can do all of this in a single day. Are you ready? Roll up your sleeves and get to work.
What platform should I go with?
At the moment, there are two popular eCommerce platforms that I can recommend which are Shopify or WordPress + WooCommerce.
Shopify is a fully hosted eCommerce solution. However, the downside to Shopify is that it gets quite expensive, and options are pretty limited unless you pay additional fees.
For this reason, most of my clients choose WordPress + WooCommerce. It does require some setup, but it’s worth doing it in the long run. Plus, we can always give you a hand if you wish (visit kotrynabassdesign.com). WooCommerce is the world’s largest eCommerce platform & it’s currently trusted by over 40 million users & I personally use it with all of my businesses.
If you want to start your first online business using WordPress, just follow the steps below & we will make it happen together:
Step 1: Register on Bluehost.
If you are interested in creating a thriving website that actually brings you income, then paying for trust-worthy hosting, such as through Bluehost, is a MUST. Don’t worry, it’s very cheap as well to go through Bluehost AND you get a free domain too. This way, you will be able to run your own shop or implement advertisements or affiliate links into your website. Making money on free website builders or any other free blogging platform is very difficult, and in most cases never happens. Most customers, advertisers, and companies are looking for trust-worthy partners & your self-hosted WordPress website can help you give that outstanding experience to your potential clients.
My own income I make online didn’t take off until right at the exact moment I switched to WordPress. That’s a lot of proof right there that being self-hosted on WordPress is the way to go!
There are many reasons for why you may want to choose Bluehost for your WordPress website, here are just a few:
- It’s easy to use. Trust me, ANYONE can create a website easily with my tutorial below.
- Bluehost web hosting offers free 24/7 technical support.
- Bluehost is extremely affordable and they offer cheap web hosting. You can have a blog of your own and the only real expense you need to pay is the cheap blog hosting which starts at just $3.95 per month.
- You get a FREE blog domain for the first year.
- WordPress through Bluehost is completely FREE.
- Bluehost offers a guarantee in case you determine that it is not for you. Or, if you sign up for Bluehost, but you are confused for any reason (such as how to set it up, picking a plan, pricing, etc.), you can always send me an email or tweet me and I will help you out.
- You will be self-hosted. If you want to monetize your website, you’re more than able to do so.
- You will create a professional, easy to use the website for the price of a cup of coffee.
First, you will need to head on over to Bluehost to do any of this. There are many web hosting companies out there, but Bluehost is honestly one of the best. There is a reason why the majority of website owners choose Bluehost for their web hosting needs.
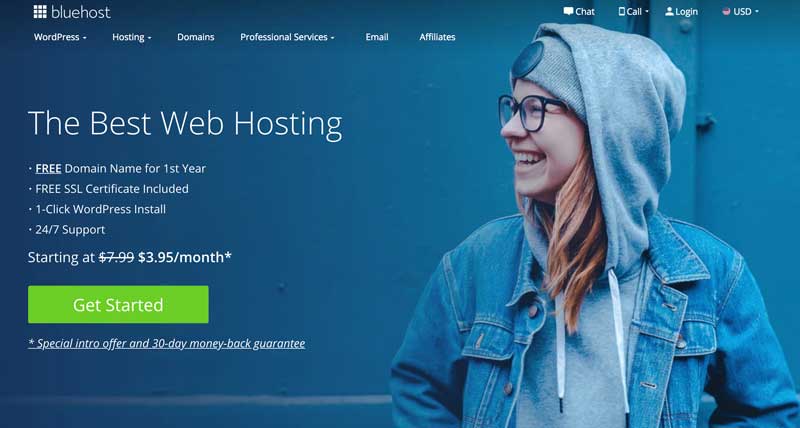
If you plan on starting a website and you are interested in learning how to start a website on WordPress, continue below. Remember, if you sign up for Bluehost, but you are confused for any reason (such as how to set it up, picking a plan, pricing, etc.), you can always, always send me an email and I will help you out. That’s what I’m here for so don’t be afraid to send me an email
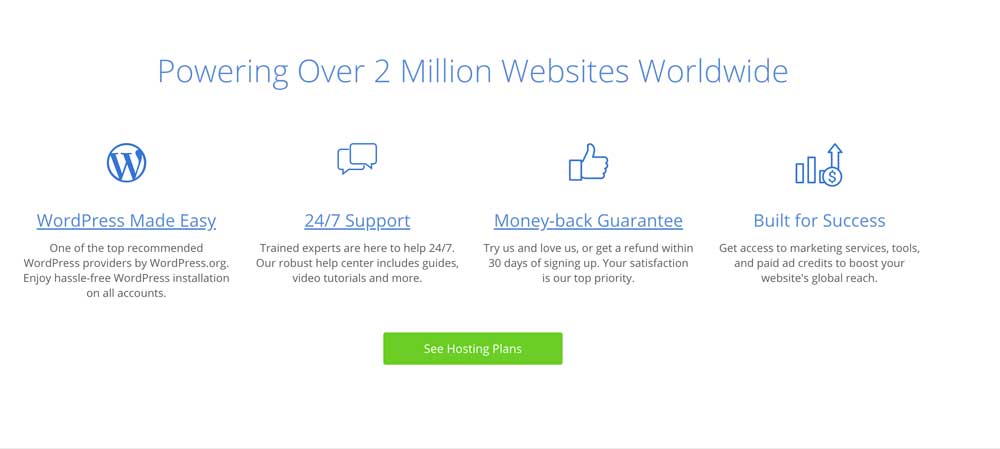
Click on the ‘See Hosting Plans‘ button to be taken to plan the comparison page.

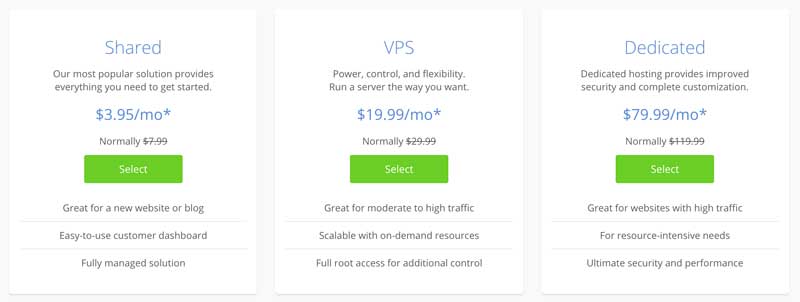
On the next page, select SHARED plans option to choose from available plans.
To receive the cheapest price to start a website, choosing the “Basic” plan is really all you need for now. It’s only $3.95 per month (due upfront in full) if you sign up for 36 months, which is a great price. You might find cheaper alternatives elsewhere, but you will end up paying extra for your domain name, security, SSL certifications, etc. Bluehost really has anything you need for now.
Step 2: Choose a domain name.
After selecting your plan, you will get an option to choose a domain name you’d like to use:

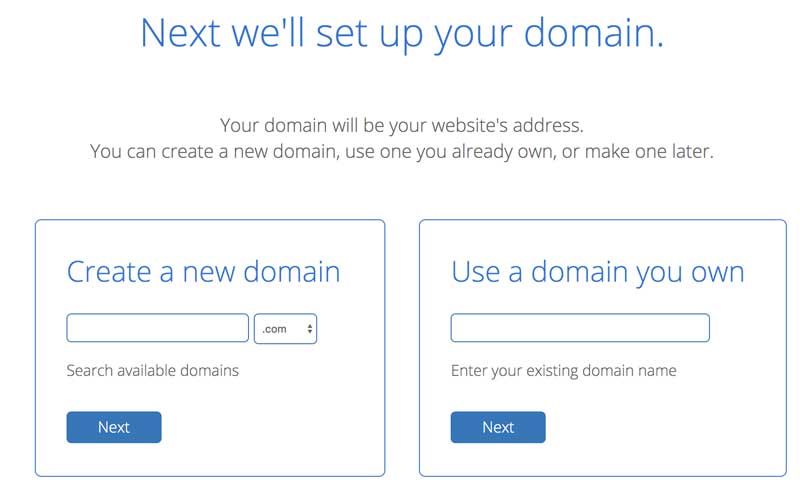
Type your choice in and click on PROCEED!
Step 3: Complete The Form.
Now, you will be taken to a form to fill out your log in deets and your personal information. Fill all of the required fields and move on to your purchase information. Here, you will be able to choose monthly payments if you’re not in a place to pay upfront. However, I highly recommend signing up for at least 36 months period straight away. You will actually save quite a lot of money this way and won’t need to worry about making monthly payments as you grow!
Next, choose if you want to get any additional services, but don’t worry if you don’t feel like you need them at the moment. You can always get back for all of these add-ons!
Proceed to your payment information and make sure to finish off your order, choose to SUBMIT all of the information and continue to the next step to fill out your payment deets & complete the order.
Step 5: Launch WordPress
Now, all that’s left to do is log in to your newly created account & start working on that website.
This part isn’t hard at all. Bluehost makes it very easy to create a WordPress website and it is FREE.
- After you finish your registration, Bluehost guides you through every step you need to do in order to start a WordPress website.
- First, Bluehost will ask you to pick a theme. You can just skip this step for now.
- Click on “Start Building”
WOOHOO! You now have a WordPress website.
Here it is, your WordPress blog is now live and ready for you to start using straight away! That was quick, huh? I told you!
Now, go ahead and choose one of our WordPress themes + fill out this form for free design installation services!
Now let’s move on the e-commerce part →
Step 6: Get An E-commerce Ready Theme
You will have to make sure that the theme you’re using is W0o-commerce friendly. We currently have quite a few themes for you to choose from on KotrynaBassDesign, if you’re looking to launch your online shop, make sure to check out the below:

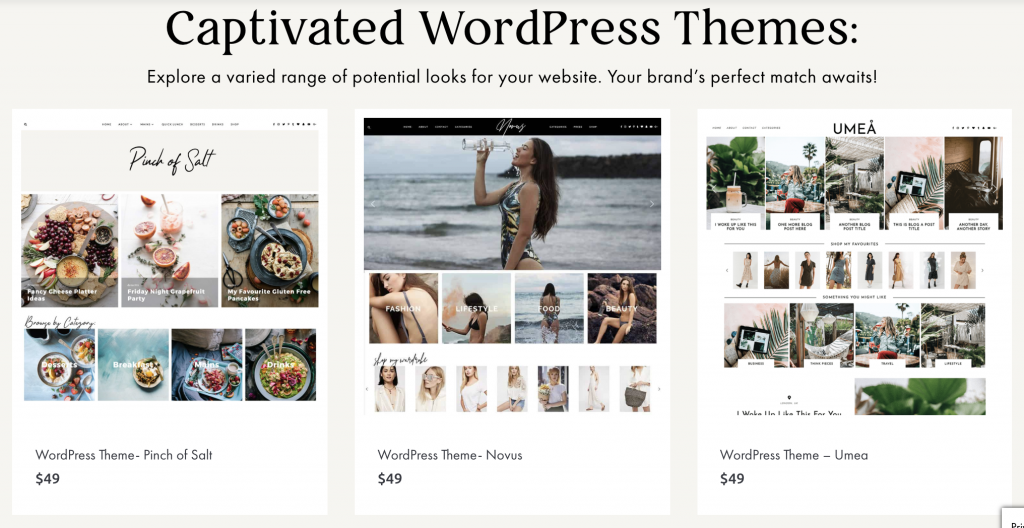
We also provide free installation services with all of our themes, if needed!
Step 8: Set Up WooCommerce
WooCommerce is one of the most popular e-commerce options for WordPress users, and with good reason. Not only it allows you to create an e-commerce shop using WordPress very simple, but it also carries dozens of handy extensions available that can add extra functionality to your site.
To set up a Woo-commerce plugin, follow these steps…
Log into your freshly installed WordPress dashboard.
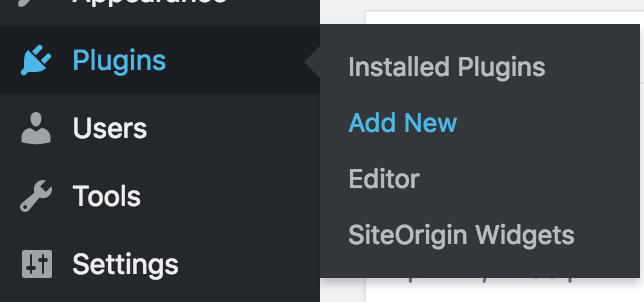

Go to Plugins. On the left-hand menu hover your mouse over “Plugins” and then click “Add New”.
Search for the plugin called WooCommerce.Type “WooCommerce” in the search box and click “Search Plugins”.
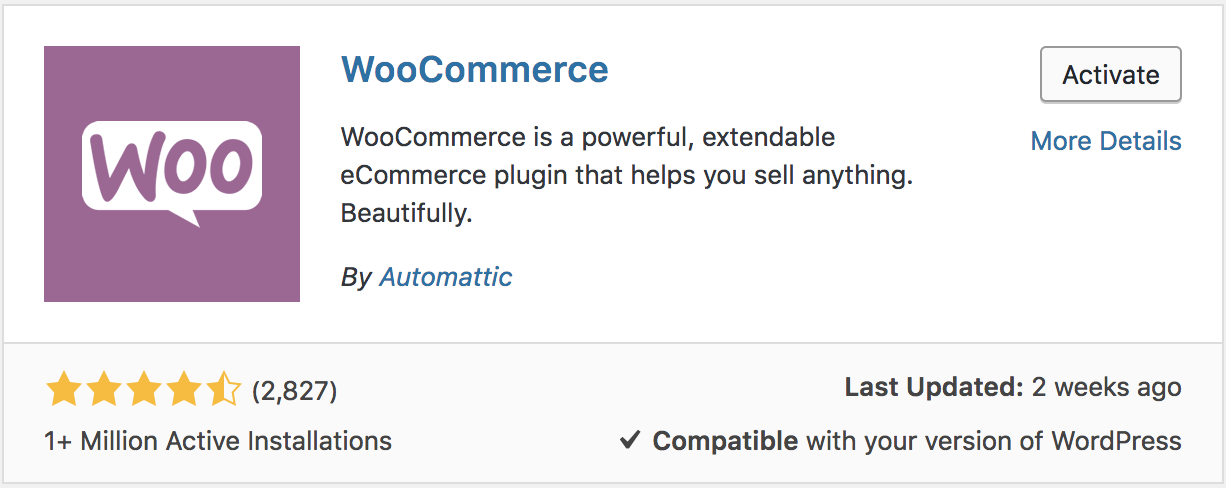
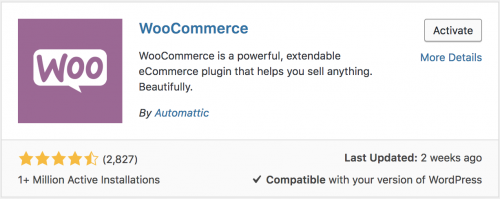
The first plugin in the search results should be “WooCommerce – excelling eCommerce”. Click “Install Now” & then “Activate”.
As soon as you activate WooCommerce, you’ll be taken to a setup wizard that will help you configure your online store from scratch. Make sure to choose the settings carefully, having in mind the type of business you will be running.
When you get to the fourth step, you’ll be able to choose the payment options you want to enable.
By default, WooCommerce ships with two popular payment gateways: PayPal and Stripe. You will be able to configure each by navigating to WooCommerce → Settings → Checkout on your dashboard and finding the corresponding option at the top of the screen. Set up your Paypal account or register on Stripe to start accepting debit/credit card payments straight away.
Step 9: Start Uploading Your Products
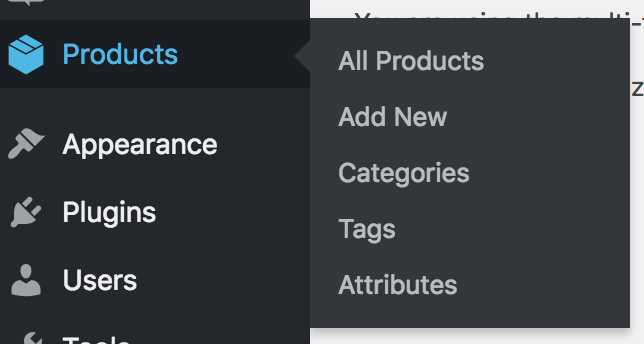

Once your Woo-commerce system is ready to use, go ahead and visit the PRODUCTS tab in your WordPress dashboard.
Using it, you will be able to start uploading your own products that will later be featured in the static SHOP page that the Woo-commerce plugin has set up for you. Make sure to use high-quality pictures and informative product descriptions.
Step 10: Let’s Get Those Sales
Now it’s in all in your hands to start making those sales! You have your Woocommerce ready, website designed, products uploaded- go ahead and spread the words about your new shop to your audience. Isn’t this exciting??
« My Thoughts on Instagram Fame & Where It’s All Heading in 2020
10 Top Entrepreneurs Share Tips On Starting A New Business »